Friday, April 26, 2013

A Pregnancy Update

Okay, so I know it's been ages since I posted any pregnancy pictures.  But time has FLOWN since we bought this house and have been working on it for the past few months!  I've taken a few pics, though--and here they are.

Back in March, at 20 weeks, here's me and my sister in Florida, after just finding out that our little baby is a BOY!  The ultrasound tech actually said it was "a billion percent sure" that it was a boy, so if it's not, I am really going to get a kick out of it!


There's definitely a bump there!


Although you can't tell as much from the front:


Then over the next few weeks I think I grew a good bit.  See here at 24 1/2 weeks:


By the way, taking pregnancy pictures of yourself is awkward.  It's weird and there are never any good angles or lighting, and I always forgot to get a picture when there was someone else there to take it for me.  Just a side note for ya.

This is my "Oh it's for real we're having a BABY" face.


One week later at 25 1/2 weeks--


Aaand you can see that my belly button is officially pushed out now.  It's one thing I didn't think about before that is one of the weirder things of pregnancy to me.


And then today, at 27 weeks!  I'm HUGE.  But if I ever say that to a woman with kids, she immediately responds with "No, you're not."  Which I think just means "wait for it...you're going to double in size super fast and you're going to wish you were this size again..."  which is a little frightening.


Finally!  I remembered to get the hubs to take a picture so it isn't just me and the mirror.


After seeing all these pictures together, it really is amazing to see the little babe grow so much so fast.  It's like any growth--it doesn't seem so different day to day, but when I look back at the very early weeks, it's crazy different. Especially compared to Week 11 and Week 15!

With only 13 weeks left, I'm officially in the third trimester and starting to get tired earlier in the day again.  Thankfully, I was able to quit working two weeks ago and am officially a stay-at-homer now, which means I can take afternoon cat naps when I need them!

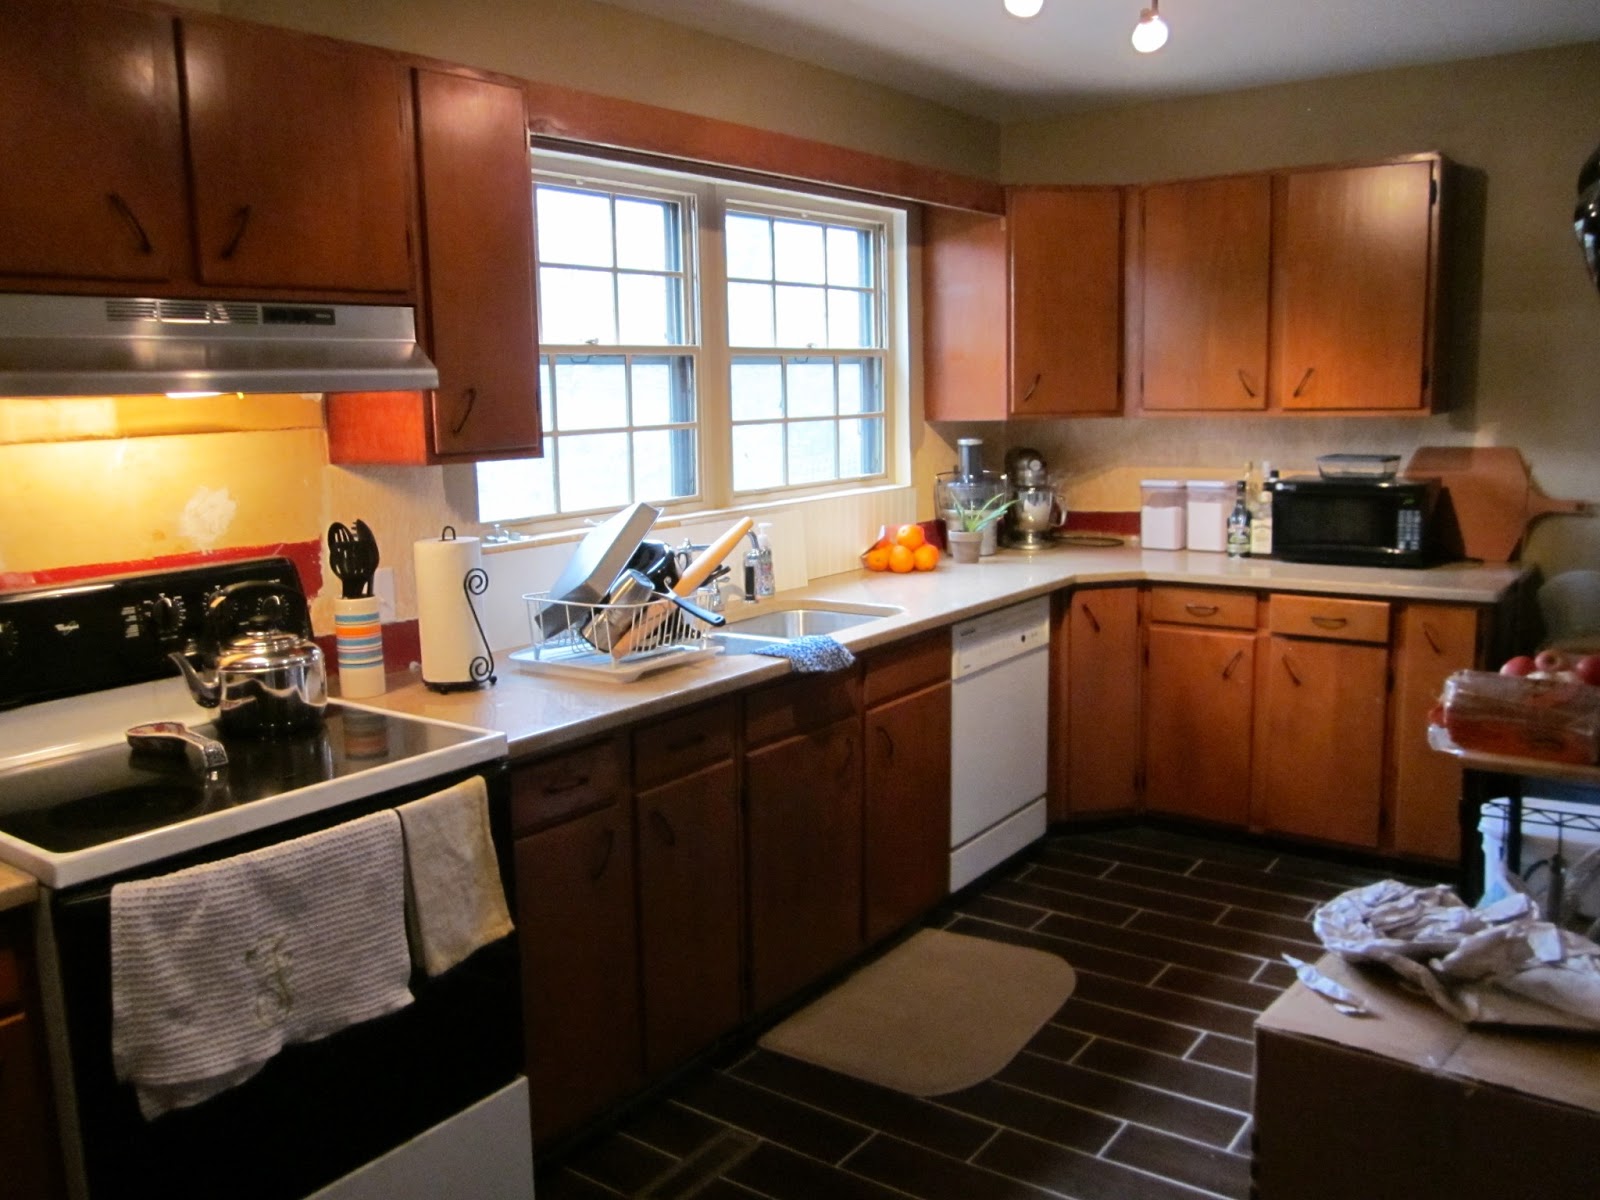
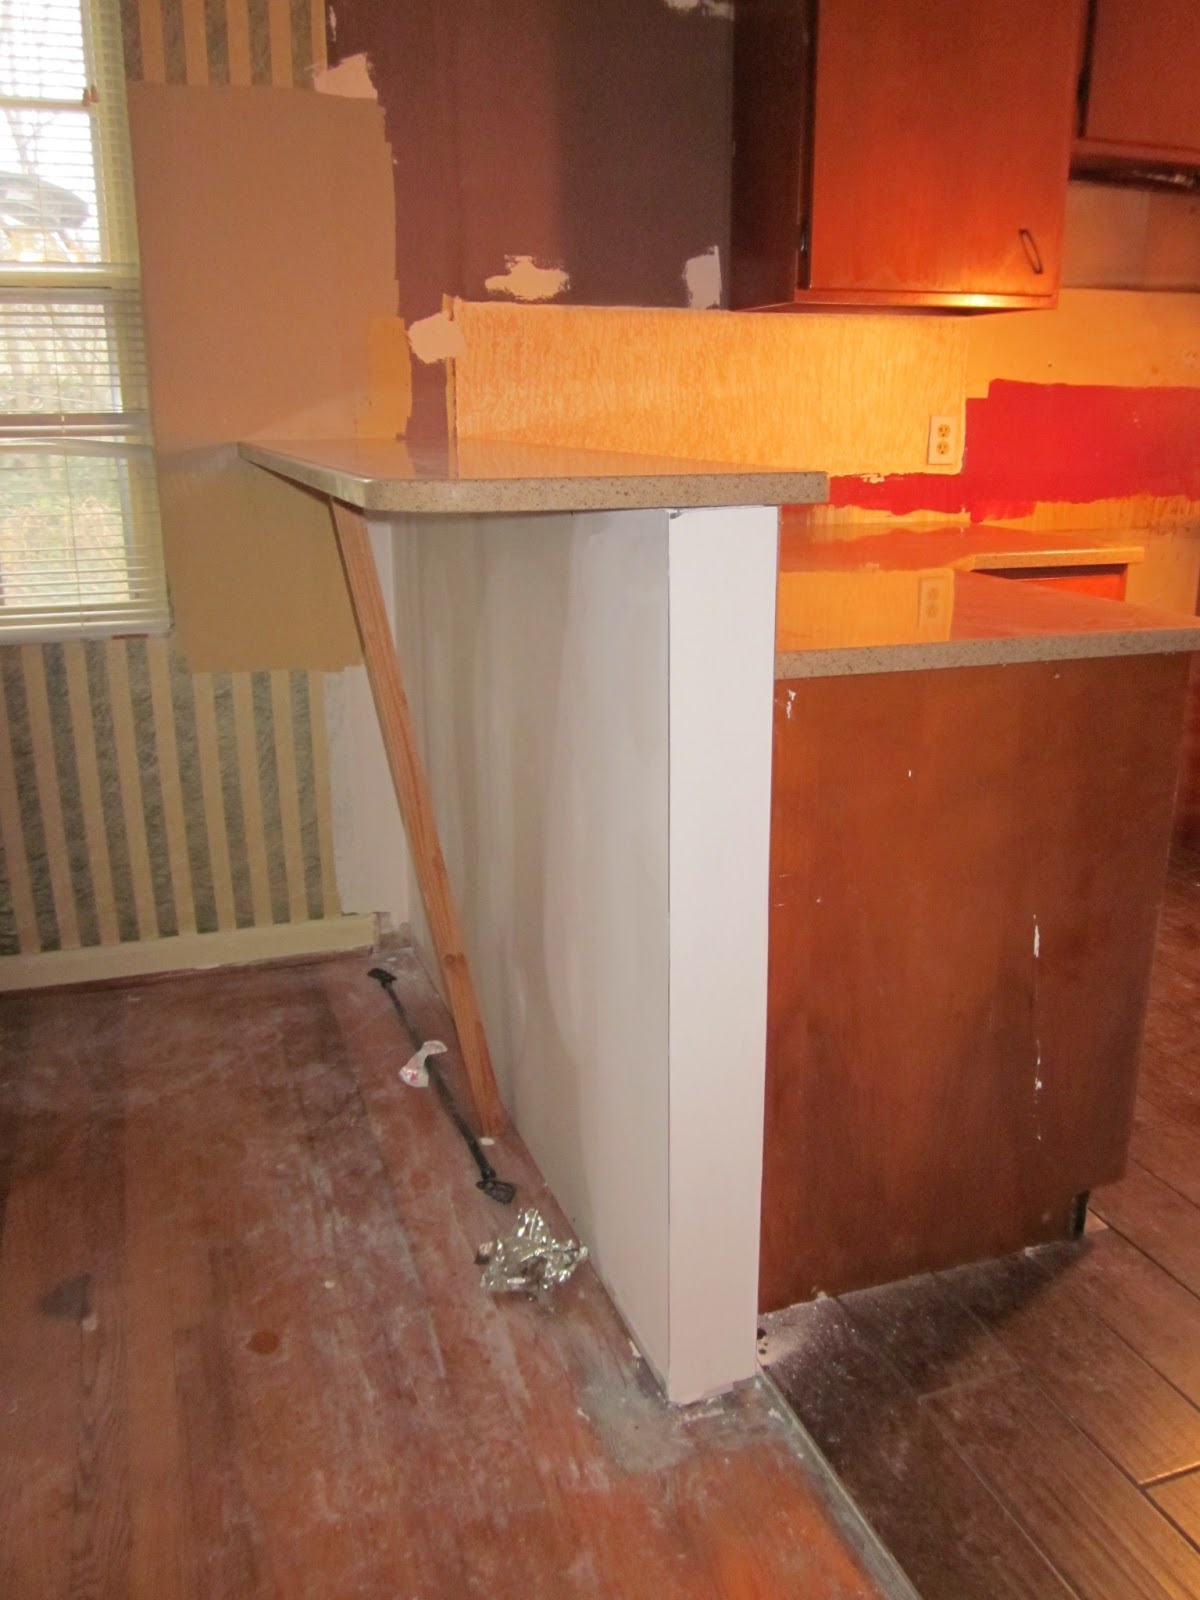
Those cat naps have come in handy this week for two reasons.  First, this entire week I have been working on making over our very old orange shiny cabinets into (hopefully) some lovely white bright ones with new hardware.  It's taken me all week because I've had to completely strip them and start from the bottom up.  The plan is to have them totally done and re-hung by Tuesday!  No surprise, this tires me out and cat naps are great to have in the middle of the afternoon.

And secondly, the cat naps have become crucial because I've had problems sleeping again--another first trimester issue that has come back.  Almost every other night, I wake up for three hours unable to get back to sleep, and wide awake.  It's partially my mind that can't turn off, but also partially because the little babe is kicking me really hard during that time.  Seriously, it feels like he's having a party and dancing like crazy.  Oh and I felt his first hiccups! It was so obviously hiccups it was hilarious--but also so bizarre that he has them.  It's fun to feel him so alive and strong, but then in the morning it is rough to get going.

I know, I know, it's nothing compared to how it will be when he's born.  I guess I should consider this boot camp, and good preparation for being up all night with a newborn.  But aren't you supposed to sleep as much as possible before he's born?  These nightly activities are making that difficult.

That's it for now for pregnancy!  Next week we're going to check out the hospital and make sure we know where to park and how to get to the Labor & Delivery floor so that when it's the real deal, nobody's panicking.  Always a good thing to prevent when you're having a baby.  :)

Have a happy weekend, y'all!

Wednesday, April 10, 2013

House Update: Kitchen & Dining Part 3/Move In!

Moving day is finally here!  And somehow things got done just in the nick of time.  Or at least, the things that had to get done got done in time.

Blitz packing the two days before moving, obviously in our old apartment.


Lots of things happened to every other area of the house at the same time as these kitchen & dining updates, but I'm trying to tackle one area at a time.  

Moving is always a hassle, but we had a lot of friends come help us and that was super appreciated.

After setting up most of the kitchen & dining, this is what it looked like. Try to ignore all our stuff everywhere--we just moved in, remember?  Also, I think that's a cinnamon roll on the table.  Now I want one.


Here's the light I forgot to take a picture of for the last post, Part 2 of Kitchen/Dining Updates.  When the hubs first said he wanted track lighting, I was all "But that's so 80's, I thought we were updating things!"  But there is only one light wiring-base (what are those called anyway?) in this long kitchen, and it's centered behind the sink.  Which is ironic because that's right behind a huge window, which gets the most natural light.

Anyway, our electrician really didn't like the idea of trying to put new lights in our kitchen, and he sort of tried to explain why it was difficult, but clearly I didn't get the explanation.  Bottom line, we were using the one light base we had.  And the only way to put a lot of light in here in a long room with one electric base (please don't be offended by my terminology, all you electrician-savvy people), is with track lighting.


Good thing the hubs knows how to install lights.  But I do think that was probably the hardest part of the entire makeover process...installing that track lighting.  And it has nothing to do with it being track lighting, or the fact that my husband did it (which he has done many many times) and everything to do with it being 60 years old. The ceiling had just been drywalled, and apparently 60 years ago they didn't wire things properly.  At least not at this particular light.  I think he had to cut out part of the drywall and go to Ace twice to get new parts (or something?  what do I know about that anyway...) before it was finally installed.  
It took an entire night.  

But now that it's done, I love that it highlights the entire counter surface area.  It lights up the whole kitchen, and I love light!  I've been known to turn on all the lights in a house before.  I try not to, mostly.  But life is sad without light!


See how the kitchen is totally painted except for the backsplash area?  I wanted to put up beadboard, and you can see a sample of that here below the window.  

I bought two primed sheets of it at Lowe's for $20 each, and they cut it to our measurements for free.

A better option, I think, than installing white subway tile for $800 plus.  And if we ever get tired of it, we can pull it down and tile it or do something else, whereas tiling is not exactly reversible.


One of my favorite things about this kitchen is this pot rack.  It's a great space saver and makes pans a lot more easily accessible for cooking than bending down and searching for the right one every time I need one, which is about twice a day.  And bending these days is getting more difficult (I'm 25 weeks, this Friday!).


So for a few weeks, we organized and worked on other projects, including doing the bead board. Really I think I should say my husband did the bead board.  I just went to Lowe's and got it cut, and he went to town with a jig saw and nail gun, which we borrowed from a friend for this project.


We chose to use a nail gun to make it removable, as the other option was to use liquid nails which would have destroyed our old plaster walls if we ever tried to take down the bead board. 


Look at all the ugliness that gets to be covered up by bead board!  Making over an old house is slow work, but putting up bead board is the closest thing there is to magic.  Just smack a nail gun all over it and voila!  Two hours later (or so), and your kitchen looks all new and clean!


Here's the current update, as of this morning.

Oh and those shelves?  They were put up by the hubs and his dad, when his parents were here for a weekend.  I love it!


Check out everything we've done!  The only surface that hasn't been redone yet are the cabinets, and their day is coming!


Ta-da!!  This is HUGE progress, people, I tell you.  Look how nice and clean and new everything looks!  It doesn't even matter that this is an older stove--who cares? It works!--the bead board makes everything look fresh.  And the vent, which I picked up at a local store, actually does its job and removes kitchen air out into the attic using that hood vent there.  The old microwave that was there previously literally just blew the air right into your face while you were cooking, which defeats the whole point of a vent.  What were the previous homeowners thinking?!  I seriously don't know.

This station makes for great cooking.


And this one makes for great cleaning!


Check it out--I bought this fabric the other day for $17 from Jo Ann's, measured, cut, and hot glued it to make cafe curtains!  The morning light is blinding in here without a covering.


Because of the natural light, it's really hard to get a good picture of it.


Here's the baking station.  Baking supplies are in that cabinet, and the Kitchen Aid workhorse is always ready to do its job!  Thanks again, Bobs, best gift ever! :)


This week's menu.  Hummus has two m's, right?  Woops.


There's tons of great counter space and storage pretty much everywhere in this kitchen.


I have curtains for that window now and just got a rod yesterday.  Hopefully today or tomorrow I'll get those up!


See that rod on the china cabinet?  It's a decorative dowel thing that we're going to use to edge the bead board.


And there you have it!  Lots of work and time to make it go from this:


 To this:


I'm hoping to paint the cabinets white soon and get some fun knobs.  With that and some curtains, I'd say I'd call it a day on this area of the house!

House Update: Kitchen & Dining Part 2

So after the demo of these rooms, here's what happened next!  Riveting, right? I know you're on the edge of your seat.  Okay, but seriously.

Once the bar frame had been built, we realized it was too high.  Even sitting in bar stools, our arms would have been raised to rest on it.  See?


So we called our contractor and that afternoon his guys came back and lowered it about 4 inches.  They were in and out of the house in 20 minutes flat--no exaggeration.  I was painting there, so I know.  Seriously, this is why you hire experts to do things you have no idea how to do.  That would have taken me ages.  Anyway, moving on.  You can tell it's lower in this pic below based on where the wood hits the wall near the red paint.


It was around this time that our contractor adamantly stated that we needed to drywall our ceiling. I think his actual words were something like "Seriously, I don't want you to tell people that we did your kitchen makeover if your ceiling still looks like that.  That's bad for business." So he gave us a good deal and had some guys come drywall the ceiling the same time they were going to drywall the bar and fridge wall.

Here it is the day after they put up the drywall.  The kitchen tile had also been laid and not grouted yet,
and the countertops had just been installed.  Because the ceiling was being drywalled, the lights had been removed.  Sorry for the lack of light!


We patched up the major holes and I had two paint options here on the wall, and I was trying to compare them to the counters. It didn't help the lighting was off.


Hurray for beautiful new counters at a third of the price!  And a new sink!  And new tile floor that looks like hardwood!  Things are starting to come together.


We got the counters installed for a third of the price of normal quartz.  Our realtor, a friend of mine, took us to a local store where the owners were literally just trying to get rid of their quartz.  They had received the quartz for free when they bought a shipment of granite from someone else (who was also getting rid of quartz ...apparently the demand is really just for granite these days), so they were still making money by selling the quartz for a third of the normal price.

Sidenote--I originally wanted concrete countertops, and I wanted to make them ourselves to keep the cost down.  We did research and added up what it would cost for us to make concrete countertops, and it came to about $1000 for our kitchen.  Concrete is great because you can put any temperature on it and can pretty much do anything to it without it ever getting hurt.  However, it would have been a big project for newbie DIYers.  

So when our realtor took us to this place to look at quartz and we found out it would only be about $200 different to get someone else to install quartz for us (including a new sink!), we jumped on it.  I think I had about ten minutes to pick out a slab before we put down a deposit because of course, it was available on a first come first serve basis.  Woohoo!  That absolutely was worth the headache it would have taken to order concrete supplies and make them ourselves.  


Okay so look--there's the drywalled ceiling.  We had to paint that after it was all dry, 
which was a new experience for me.  


The lights were off for several days as all these things happened, which made painting after work hours not easy, especially since it was still winter and got dark early.  It also put pressure on me to pick out a new light fixture already!  I knew if we put up the old ones "for now" they would be there for way too darn long.

Enter the new dining light fixture.  I wanted something that wouldn't block the light from the window, because that would affect the kitchen also.  The whole point of taking down that fake bookcase was also for more light and openness.

This particular light is actually from Lowe's in the outdoor section.  


Oh and look!  We painted it "Cup of Cocoa" by Behr.  Hurray for the stripes being gone!
And check out that perfectly drywalled and newly painted white ceiling! Progress!


Drywalling the ceiling made a monster mess of the newly tiled and grouted floors (this is after our tile guy wiped it down three times!), so we tried to clean it up a bit more.


Check out these poor wood floors.


SO much better!


By this point, the new faucet had also been installed.  I got it at a place called Southeastern Salvage here, and it was a steal at $53.  Plus if I ever get attacked while doing the dishes, that sprayer is heavy enough to knock someone out.  :)  


 Whew!  So the ceiling was now done, the painting was done, the floors were done, the sink, faucet, and disposal were now installed, and the lights were installed.

Pics I don't have--the finished painting in the kitchen, and the light installed in the kitchen.  You'll see those in the next post, but I just forgot to take them at this stage in the game.

Next up, MOVING DAY!