Okay, so I've been in cabinet recovery mode ever since we hung the doors back up, and I have very little energy to do any more projects for a while!
The steps they recommend are:
1. Putty
2. Sand
3. Degloss
4. Prime
5. Paint
6. Wait
7. Install Hardware & Hang
The cabinets before I got started:

In the basement, the doors are all numbered, removed, cleaned, dried, and puttied. Sanding is ready to begin!
My work table throughout this whole process. You can see more doors lined up on the floor back there.
I chose to leave everything in the cabinet frames until they were sanded. I wanted to keep a little of my sanity and not have everything strewn all over the place. This is post-putty--there were tons of little holes in the frames.
Bad lighting, I know, but still--you can see how much putty was necessary.
This is what it looked like after deglossing the first time, with Rustoleum's kit, which was not much help.
This is after coarse sanding with 60 grit, which made a HUGE difference. It's not orange and shiny anymore!
It was actually fascinating to watch the sander take off the top layer of whatever was on the doors. It looked like a bad skin disease being reversed.
If you sand anything, be careful where you do it. It's nice and dusty. My sander filled up with orange dust and needed to be emptied after every door or two.
Hurray--all the doors are sanded!
I went back and fine sanded everything with 180 grit paper, which made the wood feel super smooth, especially after cleaning and deglossing again.
Time for the frames, which means removing everything---oh joy!
At this point I was losing steam and discouraged and plain ole tired. Tim was encouraging and sanded the whole upper frame, which I was really not looking forward to because leaning forward on a ladder isn't comfortable, pregnant or not. By the time this was happening, it had been almost a week since I started.
You have to be careful to get in every little crook and cranny. It's tedious work. And you should cover everything you don't want dust on.
While he was doing that, I primed the fronts of the doors. Here's one coat.
The primer dried in about an hour while the paint took at least 24 hours, so I primed them twice on each side before painting to get better coverage. This really helped cover the wood grain. The top row of doors here has one coat, and the bottom has two.
This one is half primed and half "twice primed".
Also, the primer smells really bad. It's goopy and thick but it got the job done. The paint on the other hand, was low-VOC and thin, and gave great coverage. It was an Alkatex--water based with oil based properties minus the smell. It was also self-leveling, so it looked patchy while it dried but turned out great when it was all done. Here's more about the
primer and
paint I used, both of which I'm really happy with.
The foam roller with the primer made little hole-structure marks on the doors, but that's okay. It was barely noticeable when the paint went on, and it's definitely a better option than brushing the whole thing! In fact, once both paint coats were on and dried, there were zero marks of rolling.
The primer looks pretty dull, but it's supposed to. It's just there to give the paint something to cling to, and to even out the wood grain.
This is one coat of paint. It's much shinier, as a semi-gloss, but once it dried it was less so.
While that dried in the basement, I covered the upper frames after they had been primed, and set to work sanding, cleaning, and priming the lower frames. With the frames empty, it was the perfect time to thoroughly clean out the insides. Especially after sanding, it's pretty necessary.
Look how dirty the floor is! We have a house fan in the attic, so while sanding, I opened the attic door and a kitchen window and the fan sucked all the air inside the house out through the attic. If I hadn't had that (and most houses made post-1950's don't), the sanding dust would have settled
everywhere and the whole kitchen would have needed a much more thorough scrub down.
With a round sander, it's hard to get the edges of anything square. You could go the extra mile and either use a small sharp edged sander or hand sand it, but I was pretty burned out and just did the best I could without doing those steps.
After sanding and cleaning those, I did a final coat of paint on the doors. The actual painting time is very short, probably only an hour or so for 19 doors (one sided of course), but the drying time is really long. The can said it dried in 24 hours at 77 degrees and 50% humidity. Well, it was probably 55 degrees in the basement, if not lower, and it had been monsooning for days and days. To us, that means that a small leak of water runs from one side of our basement to the other. The doors were fine because they were elevated on 2x4s, but it just added to the humidity. We were gone for a weekend which helped them dry for three days, but when we were here it was just frustrating that I couldn't work on the next step.

By the time I put on the last coat of paint, it had been three weeks. It would have been shorter but I didn't do one step across the board for everything. Basically, I didn't sand everything all at once, didn't prime it all at once, etc. I did that on purpose mainly because of the paint drying time and energy.
When all the doors were (finally!) dry, we drilled the hinges on the doors which in itself was an ordeal because hinges these days are made for thicker doors. We had to re-drill a few holes in the frames because the doors stuck out a bit from the frame, and scooting it over was the only way to get it to fully cover spaces behind it. It's hard to explain.
Putting the knobs on was easy once I got new screws for them, again because our doors are thinner than the average standard cabinet door these days. They were just a few cents each at Ace though, so no big deal. But it was just one more thing, ya know? Especially when we just wanted to BE DONE already.
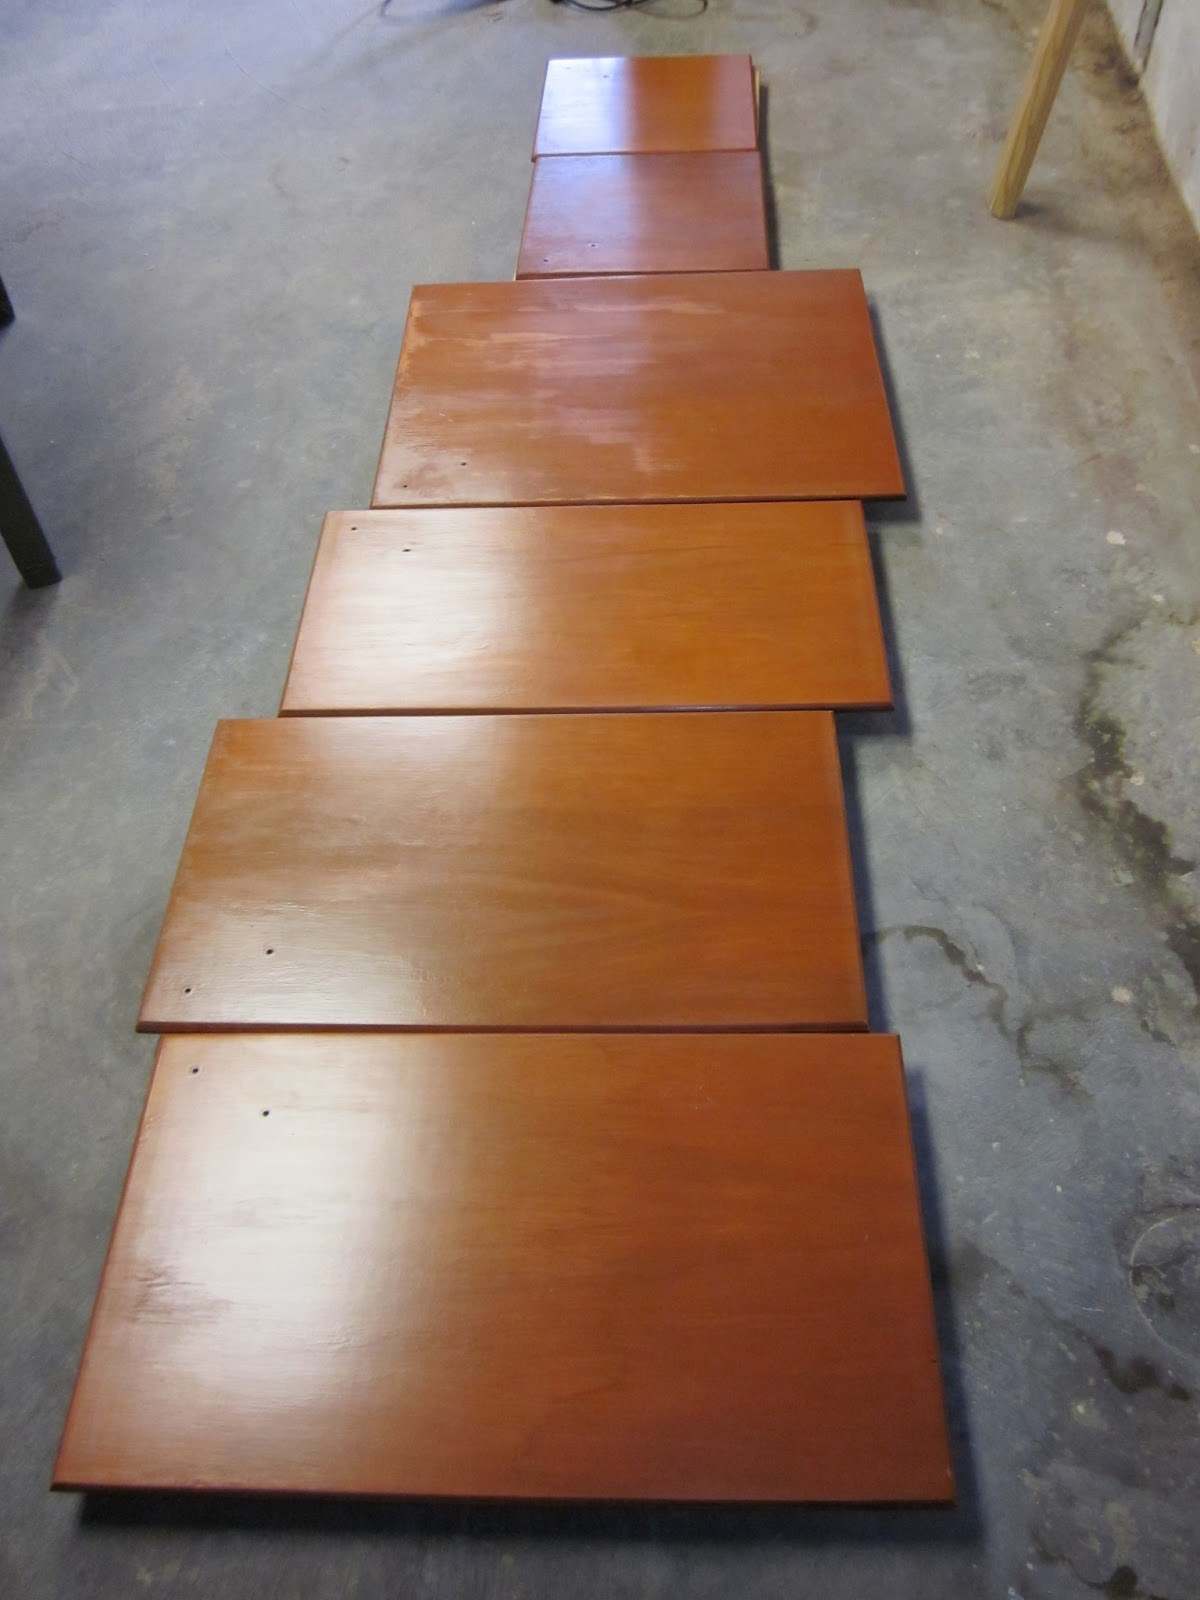
I also had purposefully left the drawers til the very end, so after the doors were back on, I started from the top with them. Sanded, cleaned, primed, and painted a first coat on them all in one day, which of course took me ages with the doors.
There were only five drawers though and they're obviously small. But since I was still using my kitchen throughout all of this, I wanted my stuff in them until the very end. We also knicked up two of the doors while trying to install them, and so I had to go back to the putty phase with those spots, and resand, reprime, repaint, and rewait for them to dry. Be SUPER careful when hanging your doors, and make sure that they're totally dry and that you don't drill any holes wrong. Those were our problems anyway.
So after all of that good fun work, we finally had something to show for it. Right now, this is what the kitchen looks like.
Hurray! A white kitchen! It looks much brighter in person, but it's difficult to take pictures of it because it's a long kitchen and because of the window's natural lighting.
So TECHNICALLY it's not all done, since I had to special order drawer pulls from Lowe's because they're 3 1/2" inches instead of the standard 3" or 3 3/4" now available (one more thing I learned the hard way--if I had done that on day 1, I would have had them ages ago), but it is still a really big deal to be this darn close!!
One more knob to install (because of course I drilled it wrong and had to reputty it and deal with all of that again), drawer pulls to install, and I need to put all that stuff on the counter on the open shelves (after I screw them in) that are on the left of the stove, and then. THEN I will be truly truly done!
So this is what it looked like right after we bought it, all nice and dark with weird angled pulls, albeit usable.
Here it is after lots of changes, but pre-cabinet makeover.
And here it is today!
Woohoo! It makes such a difference. And thank goodness it is done. 99.99% done anyway. I'm counting that as done. :)