
Originally, this was supposed to be pretty easy. Rustoleum advertises their kits with the slogan "No Stripping, No Sanding, No Priming" which sounded great, so I did my research, read lots of blogs and good reviews about their Cabinet Transformation Kit, and then went ahead and bought two kits in Pure White from Home Depot.
The kits come with a Deglosser, Bond Coat, Decorative Glaze, and Protective Top Coat. Well I had been nervous to get going on this project because I knew once I opened this can of worms, there was no going back until the whole thing was done. It was intimidating to take on by myself. But the fact that every week I'm bigger, more tired, and doing work like this is harder pushed me to get started.
So four weeks ago, I decided to get started.
Before taking any doors off, I drew a rough sketch of our cabinets and labeled all the doors and drawers. Ignore the Steps List on the left--that came later.

Then I took down the upper cabinet doors, brought them down to the basement, and got started. First off, our cabinets are old. I don't think anything had been done to them since the house was built in 1950. As in, not even properly maintained or cleaned. The hinges were rusty and dirty, the tops of the doors were dirty--as in, the grease, grime, and smoke kind of dirty. Just an all over kind of gross. Honestly, I don't really want to talk about it. Everything we keep finding in this house makes us annoyed at the previous homeowners for being lazy and not taking proper care of the house. I had been planning on spray painting the hinges and pulls and reusing them, but after seeing them close up and gross, I realized I had to nix that plan and get new ones.
So after very thoroughly cleaning and drying the doors, I got to work deglossing them. And after scrubbing them with the deglosser exactly how I was supposed to (I followed the instructions to the t), they still looked like this:
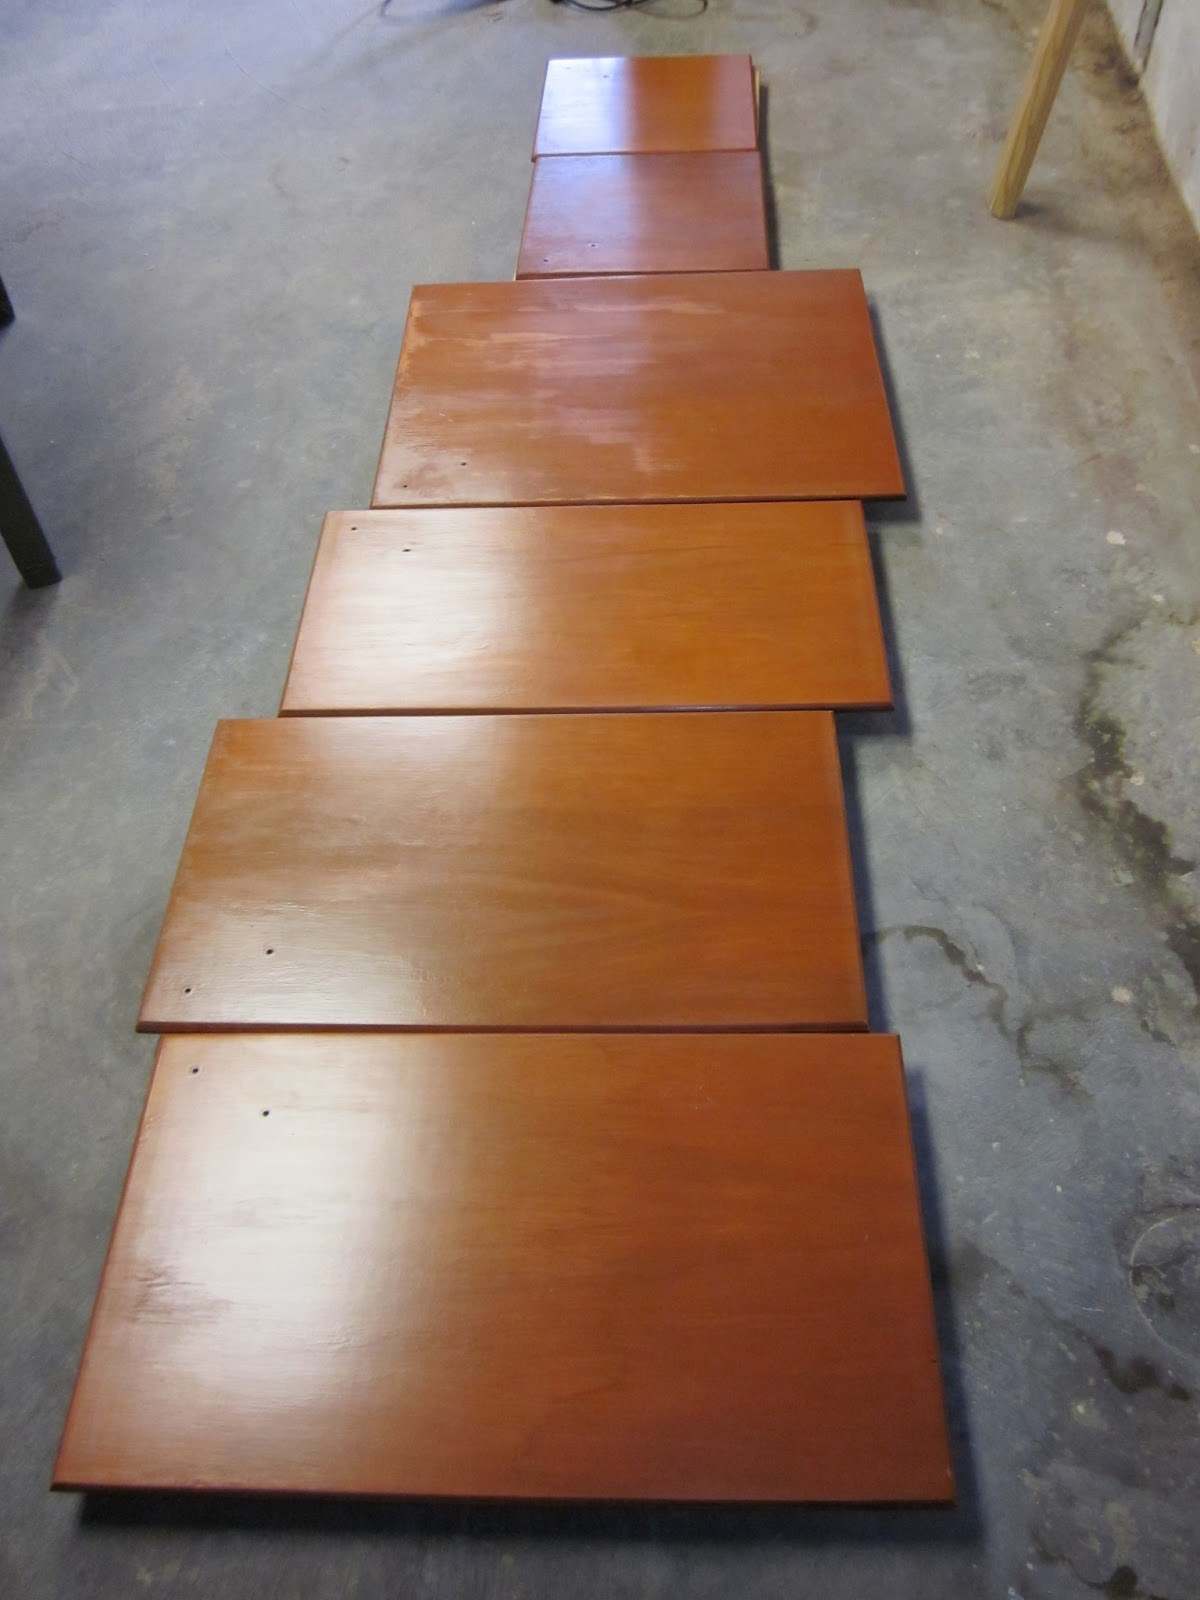
All orange and shiny. I read somewhere in my research, from a Rustoleum rep, that it wasn't supposed to be shiny anymore after deglossing because deglosser is basically a liquid sandpaper (which, I'd just like to note, isn't anywhere in the instructions booklet or video). Hrmph. Well I spent ages scrubbing those things and they were still very shiny. The only door you can even note any progress on is the third from the top, and there was no way I could get any more shine off.
Also, when I took the numbered blue painter's tape off of the doors, a few of them came off with some weird shiny layer on the back of it. Uh, okay more research. What is this nastiness? All I could find is that it could be some kind of seal coat coming off. While I was researching this, I also found several negative Rustoleum reviews about peeling paint, and most of them were from the White tint. Great.
This blogger's "Failure" post review is the one that worried me the most. If she did all that work deglossing and then the paint still peeled off, on cabinets that were much more decent than mine were, odds are almost 100% that everything I did to mine would peel off if I only prepped by deglossing.
That night I went to bed debating whether to keep going with the kit or to just go the tried and true route with sanding and priming. I didn't want to put in all that time and effort, but I absolutely positively was not going to go back and do these again later "the right way" if the kit failed. I got a baby coming, people. I'm only going to do this once.
So I went to this cabinet tutorial from some bloggers I read--Young House Love. House transformation is literally their job, and again after TONS of reading about how to do cabinets right, all the professionals pointed toward this process being the only right way to paint cabinets.
Sigh. Okay, so decision made. I'm going to have to do this the hard way. This is where that "Steps List" comes in to play up in that notebook pic up there.
Thankfully, we had some of the most important things I needed to get started, including:
- An electric sander
- Lots of space in our basement
- Time. Cabinet reno became my day job
- A work table
- Scrap wood and screws/nails to be stands for the doors while they were being worked on
- Plastic bucket for water
- Rags
What I needed to go get included:
- Coarser sandpaper-we had 80 grit but I went and got 60 grit, which actually made a significant difference
- Fine sandpaper-I was looking for 200 grit but the highest Ace had that day was 180 grit
- Primer-I used Zinsser Bulls Eye 1-2-3 (which is actually what Rustoleum recommended to people when their kits didn't work. Their advice repetitively was to go sand, prime, and paint. So why not do it in the first place then?)
- Cabinet Paint-I ended up using Ace Cabinet Door & Trim paint
- Knobs-I got these from Lowe's
- Pulls-I got these from Lowe's
- Hinges-I got these from Lowe's
- Also, smaller screws (by 1/4") for the knobs. I guess they were too long because our cabinets were thinner than the standard size? Just one more indication of them being ancient.
- A Purdy Cub. I had the Purdy but the Cub made a huge difference in all the little areas hard to reach on the frames.
- Small 4" foam roller
But of course I didn't get everything at once because I was doing research and learning as I went. Hence the 9 trips to Ace and Lowe's.
This post is pretty much just an overview of the process and everything I needed to get it done. I'm going to write a long picture post soon of what everything looked like in-process, and then of course what it looks like now all completed.
yikes, Val. yikes! I can't believe how much work this has involved. So glad you're at the end!
ReplyDelete